Model House Kits Come in Various Forms from the
Pricey Plastic Kitsets to Inexpensive Downloadable Plans for
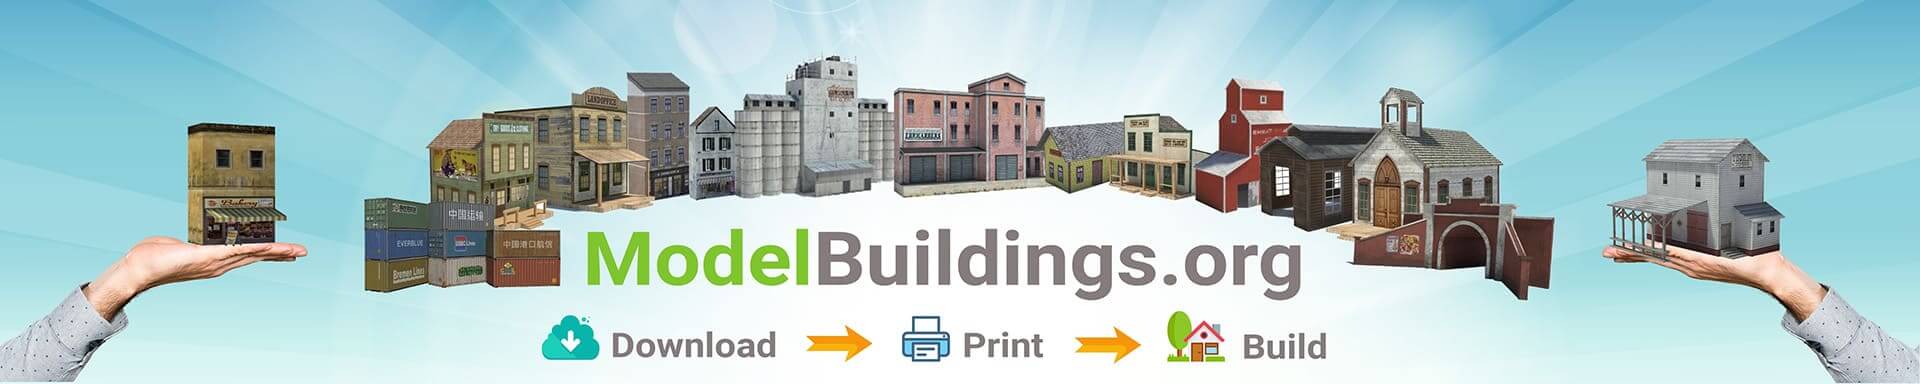
Making Your Own Realistic Houses to OO, N , or HO Scale
Whether you are into creating dioramas or constructing your own model railroad, sooner or later you’ll be looking to buy and build some model house kits to enhance the scene. Gone are the days when you just had pricey plastic or wooden models to choose from. These days, full color plans downloaded from the internet are the popular and much less expensive alternative for many. And the beauty of them is they come already weathered and detailed to a highly realistic standard, yet are incredibly strong and long lasting when constructed using card, corflute, or ordinary foamboard.


So, you don’t need to the skills and time to weather and detail these downloaded model house kits, because they can be easily printed in full color on any home printer or at your local fast copy shop. The plans are downloaded and saved on your computer and printed out any number of times for your personal private (non-commercial) use. Download your free catalog today.
As any experienced model railroader will know, attention to detail and realistic weathering of trains, landscape, bridges, buildings, and model houses (be they plastic model house kits or downloaded color plans) is what can make a model railroad transform from looking like a toy into a convincingly real looking scene that replicates a true life setting. So, lets take a look at some weathering techniques.

Chalk and Ink Wash Weathering | Model House Kits
Most art and craft or model stores will have a section for chalk artists, so visit your local one or go on-line and look for an assortment of chalk that includes as many shades of grey and brown as possible. For washes, India ink is a great material when diluted with isopropyl alcohol. It doesn’t take much ink to make a good black wash. One or two tablespoons of ink in a pint of alcohol are good recipes. One tablespoon makes a lighter wash, two if you want a grimier appearance.
A model train show or another local modeler will usually give you an opportunity to find a very cheap car to experiment on; it doesn’t even have to be operable. A weathered and beat up car can easily go next to the locomotive shed or at the end of a siding to represent discarded equipment. The color plans available on this website are already weathered to a high standard, but you might need to master these weathering techniques if you are buying the more expensive plastic model house kits that will require assembly, painting and weathering to make them look as real as possible.
After making up your wash recipe, start with a soft brush and paint the model train car all over with the wash. It will run into the edges of the beams and channels and crevasses of the train car. When you are finished, set the model aside to dry. While the model is drying, pick a chalk color from the box that matches the color of the dirt in the area you wish to model. Scrape the chalk along the edge of an X-Acto knife blade or use a modeling file to make a small pile of chalk powder on a sheet of paper.
When the car model is dry, take a dry, soft brush and dip it in the chalk. Apply the chalk lightly along the same crevasses the ink has run into. The ink will give a shadowing and background grime effect, while the lighter colored chalk will appear to be dust and dirt picked up while the car was moving. Feel free to add another shade of chalk over the entire model. If you find it helpful, work from a color photograph of a dirty car. The only “right” look to weathering is the one you are happy with, so continue the technique until you feel satisfied.
Once that is done, mask the trucks (if it’s an operable train car) and lightly spray the whole car with Testor’s Dullcote to seal the chalk weathering. Or, if you are unhappy with the result, wash the car in soapy water, dry thoroughly, and start over.
This technique can be applied to anything on the layout. The India ink wash can be used with plaster rock castings and Sculptamold for shadowing effects in rock nooks and crannies. Buildings and model house kits are great candidates for weathering as well. Some of the finest layouts have areas that look positively dismal! Several paint companies also make products for weathering. Experiment with them, too. Generally speaking, the paints should be thinned before use so you don’t overdo the effect. Use several light applications rather than one heavy one if the effect is too subtle.
Weathering scenery, bridges, rail track, model trains, roads, fences, foliage, advertising signs, backgrounds, buildings, model house kits, and any other component found on a model railroad layout can really make the difference to the overall look of the scene. Just one item, house, or building that looks unnatural can standout and ruin an entire scene. Instead of a visitor viewing model trains running through a realistic scaled-down replica of a real world scene, they might just focus on the one building, train car, or house kit that looks artificial and out of place.
That’s not what any model railroader wants. So, learning weathering techniques and the skills to finely detail structures, buildings, and houses is a definite advantage in the hobby.
Assembled plastic model house kits shouldn’t look like they are brand new structures that have just been glued together and painted. They need to look appropriate for the geography, character, and era of the scenery being replicated. That’s why pre-weathered downloaded plans are so popular with model railroaders worldwide. They are strong and long lasting when constructed and, most importantly, they look convincingly real and are inexpensive to buy.