SCALE CONVERSION CALCULATOR
|
Z = 1:220 |
N = 1:160 |
| TT = 1:120 | HO = 1:87 (1:87.1) |
| OO = 1:76 (1:76.2) | S = 1:64 |
| O = 1:48(1:43.5) | G = 1:32,1:29,1:22.5 |
| 1/2 = 1:24 | 1" = 1/12 |

Low Relief Model Shops
More
Details
Constructing Your Model Scenery, Structures
and Buildings to the Correct Proportions
By Ben Watson
When attempting to build your own HO train layout you have to worry about
constructing HO scale scenery in the correct proportions. The same goes for N scale, OO
gauge or any other scale you are working with. The scale proportions need to be accurate
based on the scale.
It is easy to buy scenery right off the shelf and know that your layout is going to be correct. The challenge, and a lot of the fun, is to build your own scenery and structures and make sure it fits the HO scale (assuming that is the model train scale you are operating).
Your scenery needs to be to scale in order to be realistic and effective in your HO scale train universe. Making a train layout baseboard, attaching your track and trains could be the easy part. Building scenery to scale is the next step before you consider any buildings or accessories. Your scenery can be built from a variety of materials with foam board being one of the best for hills and mountains, as well as for inserting trees and shrubs into it.
The first thing you need to do is decide how large your layout will be and if you will want to expand it in the future. Then you can decide what type of landscape you want your trains to run on. Do you want mostly flat land with fields of grain? Or do you want a lot of hills, valleys, gullies and streams? Will your layout be round, curved, rectangle or maybe a different shape altogether? Whatever you decide is fine as long as you are prepared to do the work to make sure your scenery is to scale.
A good rule of thumb is to make your layout on multi-levels and this will give you a perspective of size and distance. A mountain is a good way to make your layout multi-level and where you place your trees and bushes can affect the perspective. Taller trees toward the front of your layout will make it appear that the mountains or hills at the back are farther away. In order for this illusion to take place your scenery must be sized right for your HO trains.
Make sure your trees are a realistic size in respect to your model trains. Use your engine as a guide always having it available to measure against. Make sure the scene you create matches the cars you are using. Don’t put a passenger train in a coal country setting. Do you want bridges and roads in your scene? Make sure the cars are in proportion to any HO scale scenery you construct.
You can easily carve a mountain side that the train might climb up around from foam board but it takes practice, persistence and patience. You will want to measure where your buildings and roads will go before you draw or attach anything to your layout baseboard. Then draw your roads and rivers or creeks onto the board. If you have roads going to, from or around model buildings, be sure you place the buildings where you want them first and then measure where the roads will go. Measure and lay the foundations for your structures and buildings. Cork board is good for this.
If you want to make it easier the first time you construct your HO baseboard, you can purchase pattern books that you can place on the board and trace to form your layout. This is the best way for a beginner to get experience with designing and constructing his or her own HO train layouts. This will allow you to easily draw and cut from other pieces of foam board the curves and angles you want your layout to have.
This is also the way to make multi layers by tracing out the different sizes for the curves on each layer and then attaching them on top of each other with the largest one on the bottom. This can create a mountain that either a road or your train track goes around or perception is it gets farther away as it goes higher. All of your scenery can be constructed in this way with patterns from the book and you will be sure it is HO scale or the scale you are using.
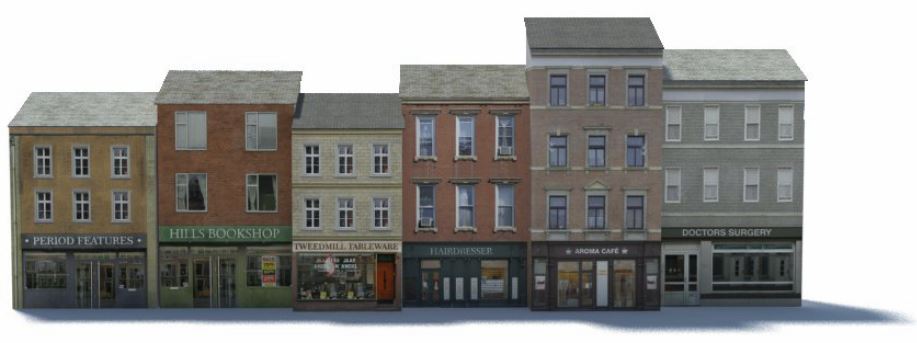
When constructing model railroad buildings you can either by the kits to scale, or if you are downloading plans you can adjust the PDF to the scale you want. Otherwise you can use a scale conversion calculator to convert from real life size to scale size. Remember, if the buildings are in the distance you might want to reduce them down to 80% or 90% of the scale size, or they might look overly big for the scene. So, for HO trains you might want buildings that go against a distant background to be only 80 or 90 percent of HO scale. That's where downloadable buildings you print out can be perfect, as unlike plastic kits, they can be scaled in size before printing.

Low Relief Buildings - Pack B
More
Details
