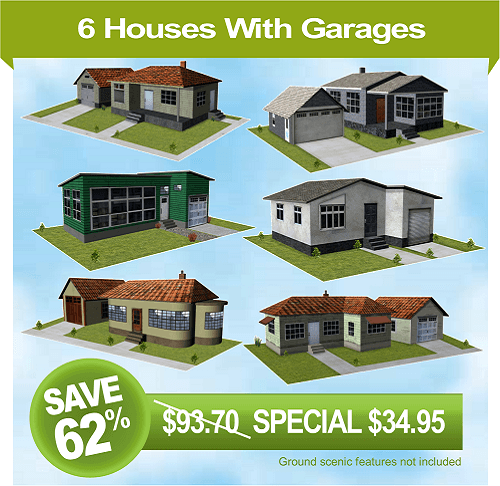
House Series #2
Original price was: $93.70.$34.95Current price is: $34.95.
& Free Shipping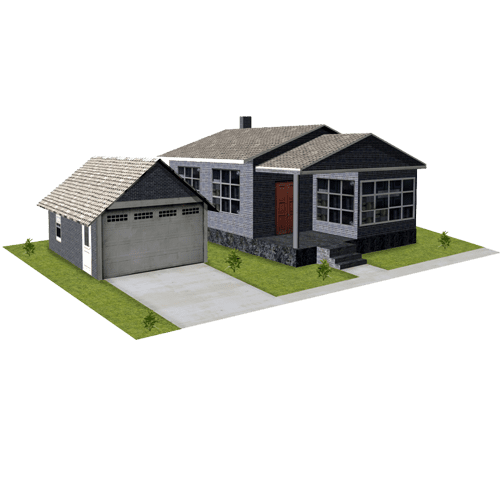
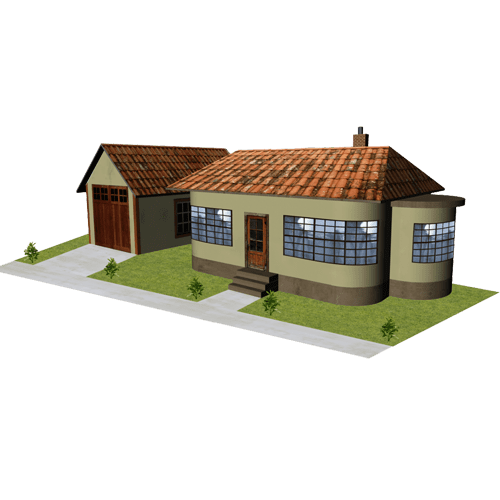
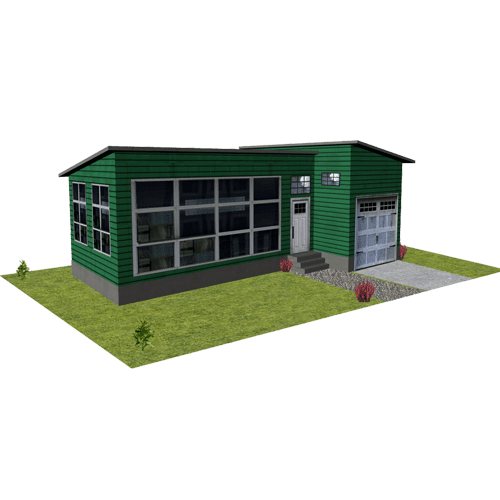
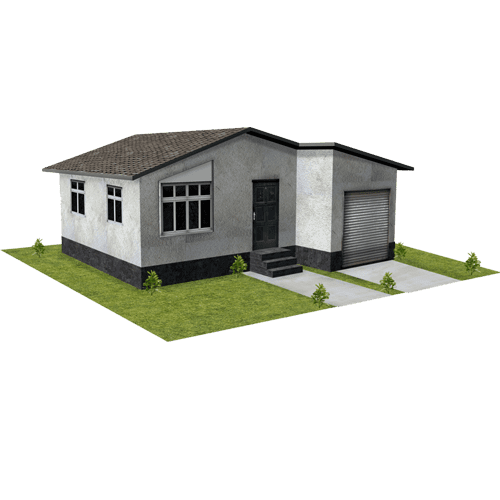

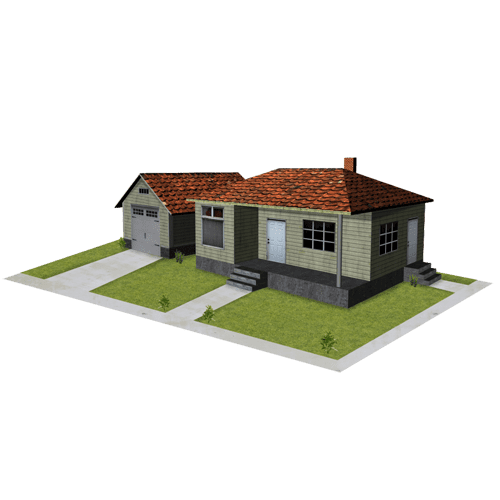
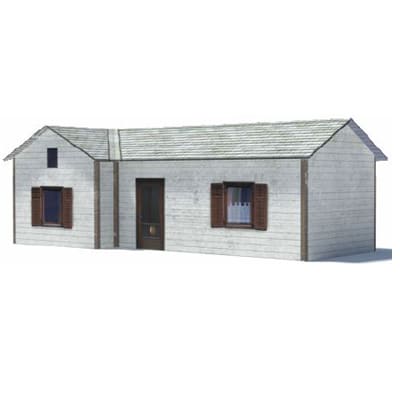
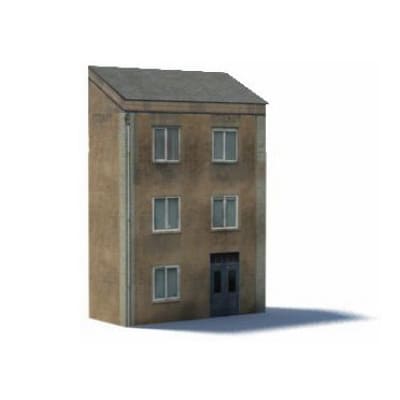
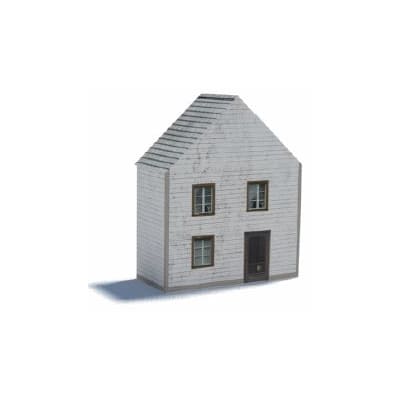
You’ll be surprised how quick and easy it is to make realistic-looking house buildings for your scale railroad using paper house models downloaded online. How to make a model house out of cardboard doesn’t need to be a mystery thanks to the internet and being able to download paper house models to your own computer ready for construction and assembly using cardboard. And, the cardboard can be free when you use recycled card from used cereal boxes which is better and cheaper than using the card-stock bought from art supply stores. To make a model house out of cardboard from recycled cardboard is also better for the environment, but it is the strength and free element of this cardboard that really appeals to the model railroader, not to mention the superb realism that can be achieved when building paper house models downloaded online.The series # 2 of paper model houses featured above include designs of houses constructed from brick, stucco, and naturally weathered painted timber. Three of the paper model houses even have garages included on the plans. Customers get to download a free printing and assembly guide after purchase of the paper model houses or other buildings on this website. The downloaded plans also include drawings of part numbers to make assembling the paper house models easy to follow. So, you will no longer need to asks, “ how to make a model house out of cardboard?” because the instructions are step by step and straightforward to follow.
Purchasing downloadable printable plans in the package deals is the most economical way to buy the paper house models for sale here. Each house plan is available separately for those who just want to construct a particular house model from paper and cardboard. The package deals however include savings on the price of between 50% and 87% off the regular retail price if the house models and other model buildings were purchased individually.
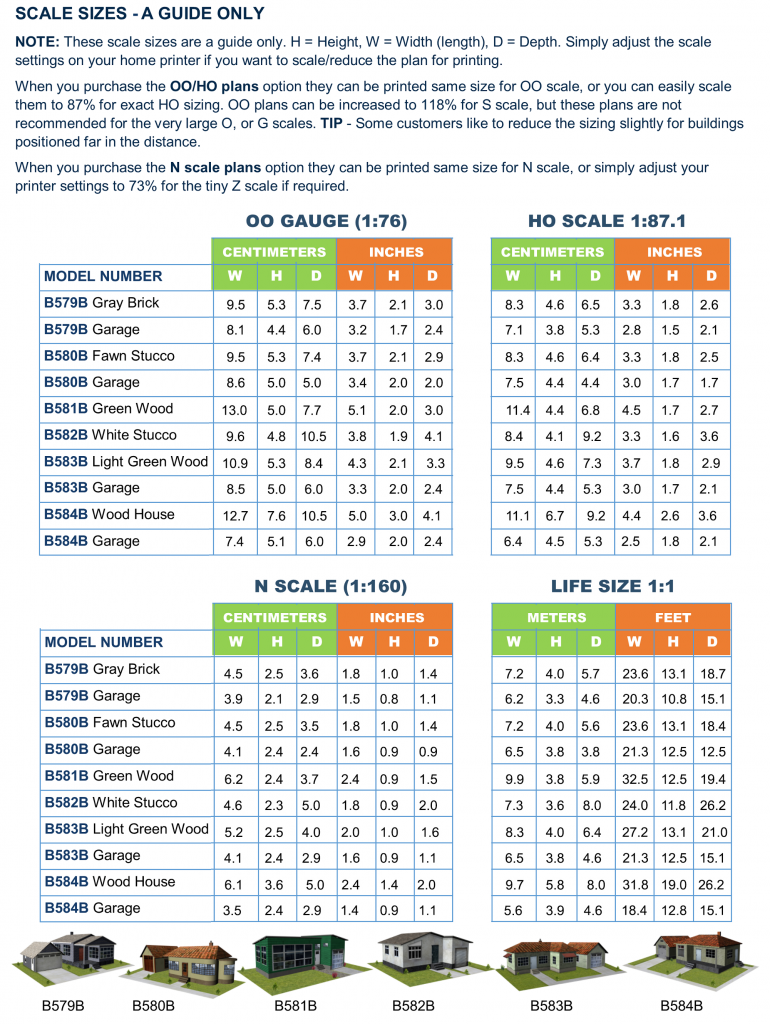
You can make these paper model houses to OO SCALE, HO SCALE, or N SCALE from any material you like. Customers can select from HO / OO scale, or N scale when proceeding to the checkout. OO plans can be scaled on a print to 87 percent to accurately replicate HO scale.